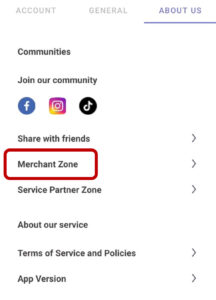
- Tap the Profile icon on bottom navigation bar.
- Navigate to Account Settings> About Us > Merchant Zone.

- Provide the required business information:
- Business Phone Number
- Business Category
- Multi-Store Option (if applicable)
- Business/Brand Name (displayed on the app)
- Company Registered Name
- Company Registration Number
- Bank Name
- Bank Account Number


- Upload the required documents. Ensure you upload clear images of the following:
- Bank Letterhead
- Company Registration Certificate
- Storefront Image
- Identification Document (IC/Passport) – Front
- Identification Document (IC/Passport) – Back
- Facial Verification / Selfie
- Tap the Proceed to Registration button once all details are entered.
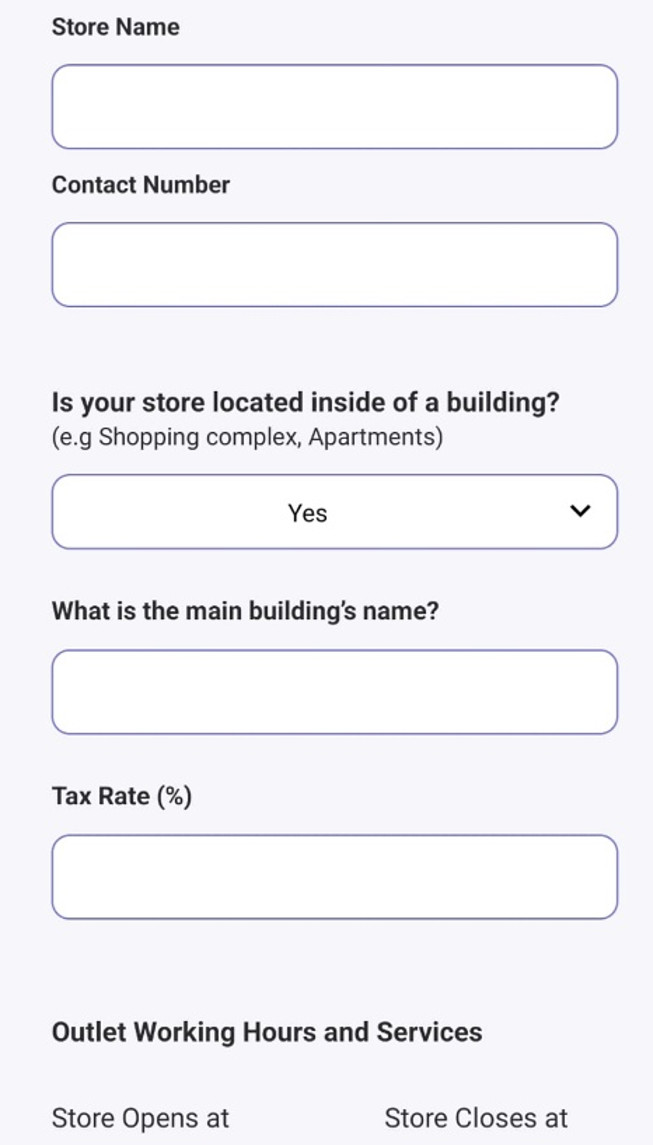
- Complete the following store details:
- Store Name
- Contact Number
- Store Location (inside a building or not)
- Main Building’s Name (if applicable)
- Tax Rate Percentage
- Outlet Working Hours & Services
- About Our Store (brief description)
- Supported Services (Booking / Delivery / Dine-in / Takeaway)
- Outlet Premise Address

- Tap Save to store your details. Tap Submit to complete the registration process.
- You will receive an email notification once your submission is reviewed. Verification may take up to 3 working days.

- Once approved, your restaurant will be live on Openkom, and you can start receiving orders!
- Tap the Openkom logo on the top navigation bar to toggle your store’s status between Open and Closed.

- Tap the Message iconto access your inbox.

- Switch between Notifications and Messages as needed.
- Send text messages, images, or audio notes directly from this section.
- Tap the Cart icon to see all current orders.

- Apply promo codes or vouchers before completing transactions.
- Use the QR Code Scanner on the top navigation bar to check in dine-in or takeaway customers.

From the Dashboard, you can view your store’s performance, including a summary of total revenue, today’s orders, and the total cancellations for the day.
![]()
Dine In
- Tap Dine In button for dine in orders.

- Select the table number from drop down menu.

- Tap Proceed to Order to proceed.
Take Away
- Tap Take Away for take away orders.

- Select your desired food and drinks, then add them to the cart.

- Apply promo codes or vouchers before completing transactions.
- Tap Bookings and Schedule to view and start adding new booking.
- Fill in the required customer details:
- Name
- Phone Number
- Email Address
- Number of Guest
- Date
- Time Slot
- Indoor or Outdoor
- Smoking Zone
- Remarks

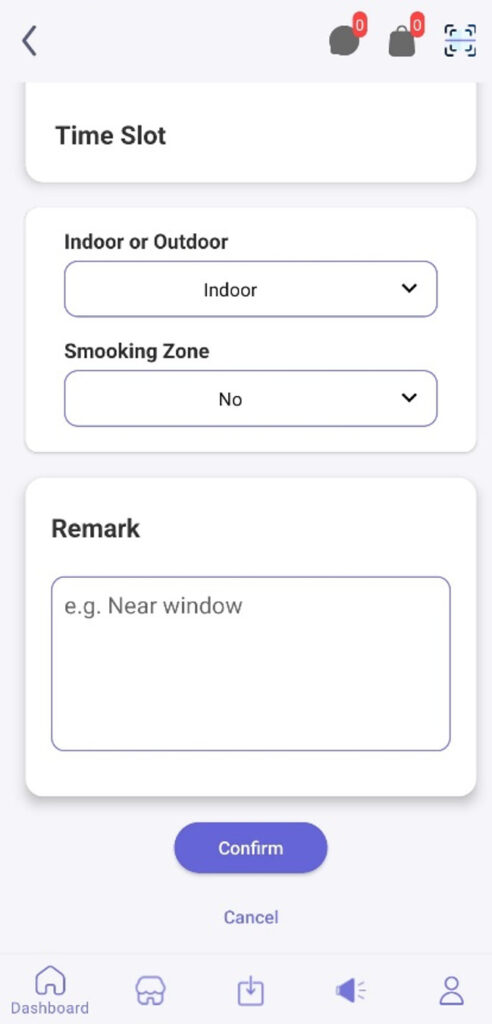
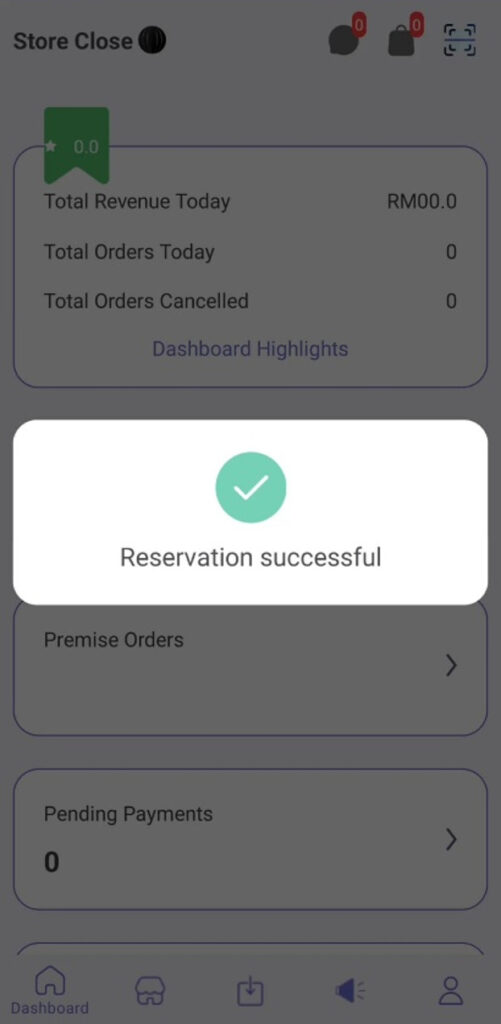
- Tap Confirm to complete the process.
- The booking will appear under Bookings Management> Selected Date.
- Tap the triple-dot icon to mark customer arrival, record a cancellation, reassign a table, or edit the booking.
The Store section enables you to manage products, tables & time slots, bookings, licenses & certifications, and teammates efficiently.

- Tap the Profile icon on bottom navigation bar.
- Navigate to Account Settings> About Us > Merchant Zone.
- Under the Store section, you will see the store you are currently managing.

- To add a new store, tap the store name at the top, then select Add Outlet.
- Complete the following store details:
- Store Name
- Contact Number
- Store Location (inside a building or not)
- Main Building’s Name (if applicable)
- Tax Rate Percentage
- Outlet Working Hours & Services
- About Our Store (brief description)
- Supported Services (Booking / Delivery / Dine-in / Takeaway)
- Outlet Premise Address
- Tap Save to add the new outlet details.
- Once saved, the new outlet will appear under Outlet Management, allowing you to easily switch between outlets.
- To edit or switch outlets, tap the triple-dot icon next to the outlet name.

- Tap the Profile icon on bottom navigation bar.
- Navigate to Account Settings> About Us > Merchant Zone.
- Tap Add Products to start adding items to your menu.


- Upload your product visuals (photo or video). Maximum file size: 5MB.
- Fill in the required product information:
- Product Name
- Product Description
- Product Category
- Product Contents
- Product Ingredients
- Product Allergens
- Pricing and Variations
- Product Delivery and Options
- Product Processing Time
- Tap Add Product to complete the process.

- Your product will now appear under My Products in the Merchant Zone.
- From here, you can edit, renew, deactivate, or delete products as needed. Your products are now live and ready for customers to order!
Section Setup
- Fill in the required details to organize your restaurant layout into different sections:
- Section Name
- Indoor or Outdoor
- Smoking Zone
- Remarks
- Tap Add Section to complete the process.
- Tap the triple-dot icon to edit, renew, deactivate or delete a section.
Table Setup
- Fill in the required details to assign tables to specific sections and define their capacities:
- Section
- Table Name
- Minimum and Maximum Capacity
- Advance Booking Option

- Tap Add Table to complete the process.
- Tap the triple-dot icon to generate QR, edit or delete a table.


Time Slot Setup
- Fill in the required details to manage reservation time slots based on your restaurant’s working hours:
- Store Working Hours and Services
- Time Slot Name
- Time Slot Interval
- Remarks
- Time Slot Duration
- Available Days
- Apply on all Tables (if applicable)

- Tap Add Time Slot to complete the process.
- Tap the triple-dot icon to edit, renew, deactivate or delete a time slot.
- Tap the Profile icon on bottom navigation bar.
- Navigate to Account Settings> About Us > Merchant Zone.
- Tap Bookings Management > Add New Booking to start adding new booking.

- Fill in the required customer details:
- Name
- Phone Number
- Email Address
- Number of Guest
- Date
- Time Slot
- Indoor or Outdoor
- Smoking Zone
- Remarks

- Tap Confirm to complete the process.
- The booking will appear under Bookings Management> Selected Date.

- Tap the triple-dot icon to mark customer arrival, record a cancellation, reassign a table, or edit the booking.
- Tap the Profileicon on bottom navigation bar.
- Navigate to Account Settings> About Us > Merchant Zone.
- Tap License and Certifications to begin adding your licenses.
- Fill in the required information for each applicable certification:

- Business Premise License – Upload image & enter validity date
- Food Compliance
- Food Premise Certification – Upload image & enter expiry date
- Halal Certification – Upload image & enter expiry date
- BeES Certification – Upload image & enter expiry date
- MeSTI Certification – Upload image & enter expiry date
- Made in Malaysia Certification – Upload image & enter expiry date
- Food Defence Certification – Upload image & enter expiry date
- Other Process Compliance
- HACCP Certification – Upload image & enter expiry date
- GMP Certification – Upload image & enter expiry date
- ISO22000 or FSSC Certification – Upload image & enter expiry date
- Other Additional Certifications – Upload image & enter expiry date


- Tap Submit to complete the process.
- Tap the Profile icon on bottom navigation bar.
- Navigate to Account Settings> About Us > Merchant Zone.
- Tap Teammates > ‘+’ icon to add a new teammate for collaboration.

- Fill in the required information:
- Member Name
- Member Mobile Number
- Store
- Outlet
- Role
- Access Rights
- Team

- Tap Add Teammate to complete the process.
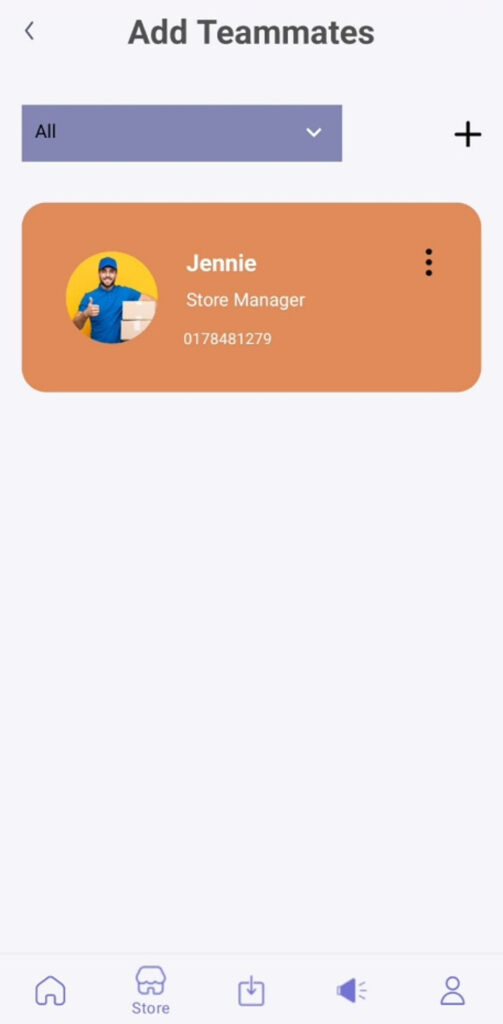
- Tap the triple-dot icon to edit or delete teammate.
- Tap the Profile icon on bottom navigation bar.
- Navigate to Account Settings> About Us > Merchant Zone.
- Tap Voucher and Promotion to view or add promocode.
- Fill in the required information:
- Promo Name
- Promo Code
- Discounts (RM)
- Minimum Order (RM)
- Type
- Status
- Schedule
- Description
- Terms & Conditions
- Tap Publish Discount to complete the process.


The Profile section allows you to manage your teammates, licenses & certifications, store setup, PIN settings, and general account settings.
![]()